Intro #
This is the first one in the series of tutorials aimed at helping you navigate our iRewind ONE Platform, allowing you to remotely monitor and operate the app on the devices, in real-time.
In this tutorial we will explain to you how to:
- Create your Credentials.
- Login to the Platform
- Navigate to your event.
- and Create an event by yourself
iRewind ONE Account #
Open your preferred browser and go to irewind.com/app to access the iRewind ONE Platform.
You will now see the login screen. Click on Login to enter your credentials and access the iRewind ONE Platform.

If it’s your first time here, you need to create your account. Choose Sign Up and fill in the requested information.
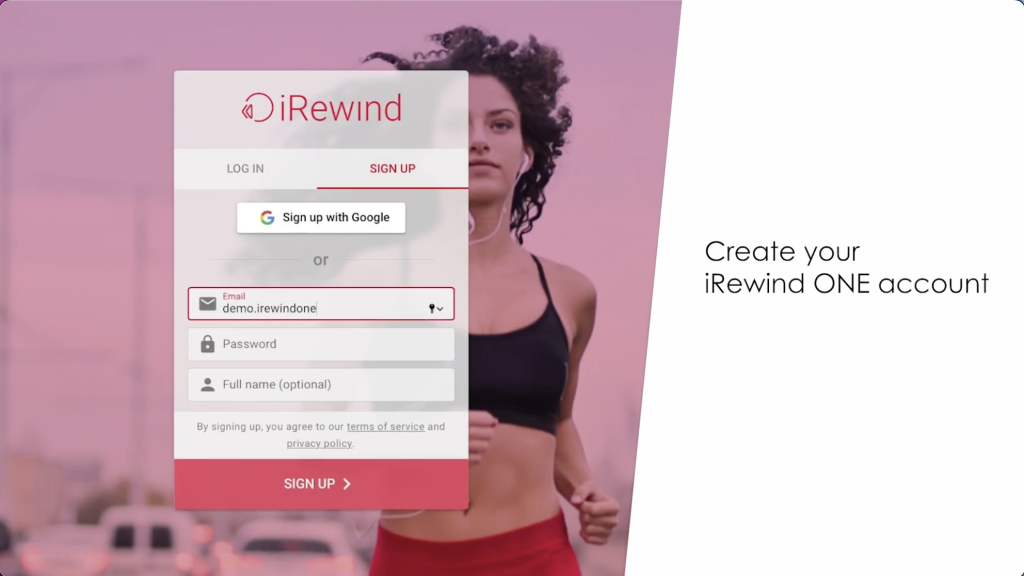
You can decide to use a general company email, setting a password and username, or you can choose to create the account and then log in via Google.
Account activation #
After you’ve created your account, someone from our team will approve and activate it for you. Once activated, you will have access to the iRewind ONE Platform with the credentials you used to create your account.
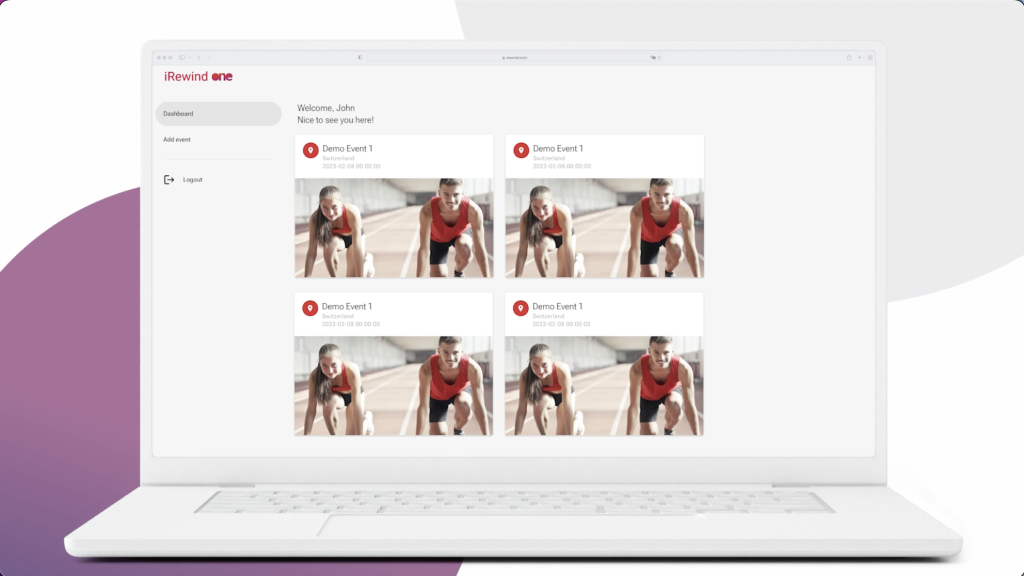
iRewind ONE Platform #
After you have successfully logged in, you will be able to:
- see a demo event if it’s your first time logging in
- or see and navigate through the existing events you have already created using the process explained hereafter
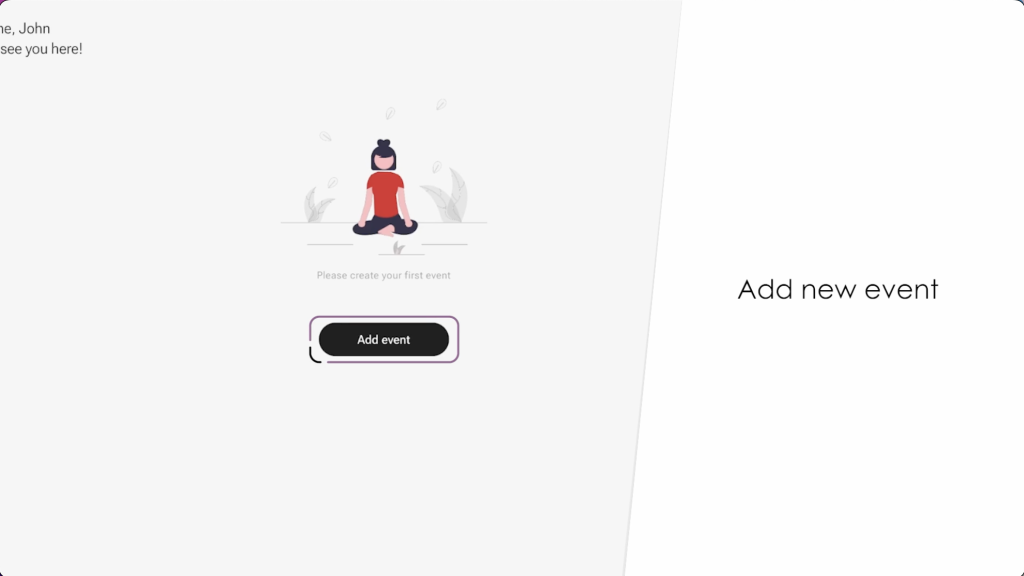
Create an event #
Let’s dive deeper into this by going through the process of creating an event
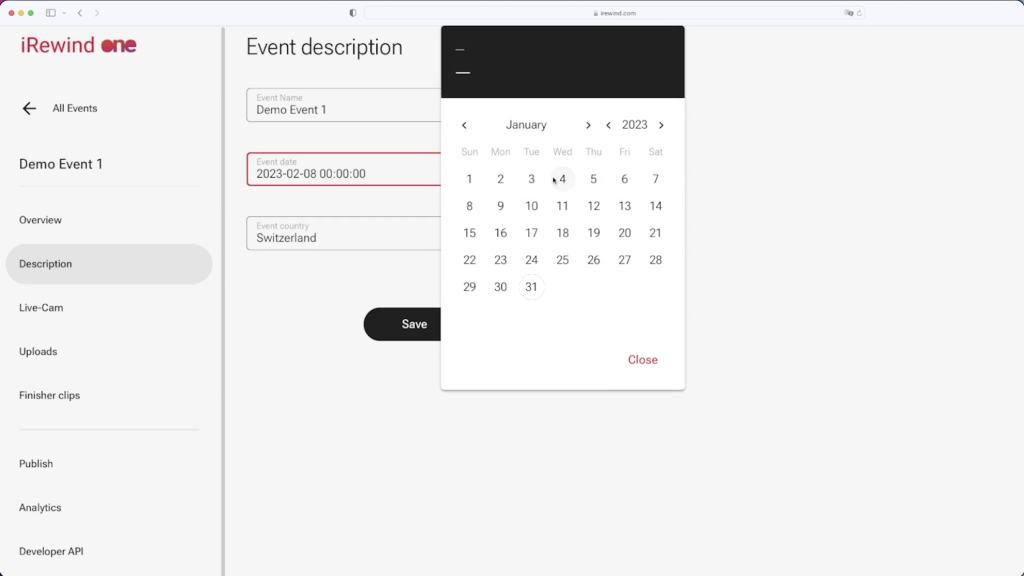
Click on Add Event and fill in the Details:
- The name of the Event
- The Date when it’s happening
- and the Country in which your event is taking place.
Click on continue and your event is now created and ready in the platform, alongside existing ones in case you have already created events in the platform.
If you have an event running across 2 or more days, it’s best to reach out to our team. Depending on some specific information, we might advise you to create a separate event on our platform for each day.
Event details #
If you click on the event title, you will be able to see a series of options to help you customize it and set up your pre and post-event publishing needs. But we’ll have a chance to go over those in some of our next tutorials.
As for your newly created event, should you decide you want to change some of its details, you can always edit those here in the Description Tab, just like you did when creating the event in the first place. Change what needs adjusting and make sure to save the edits.
That’s it, great work! You’ve successfully created your event!
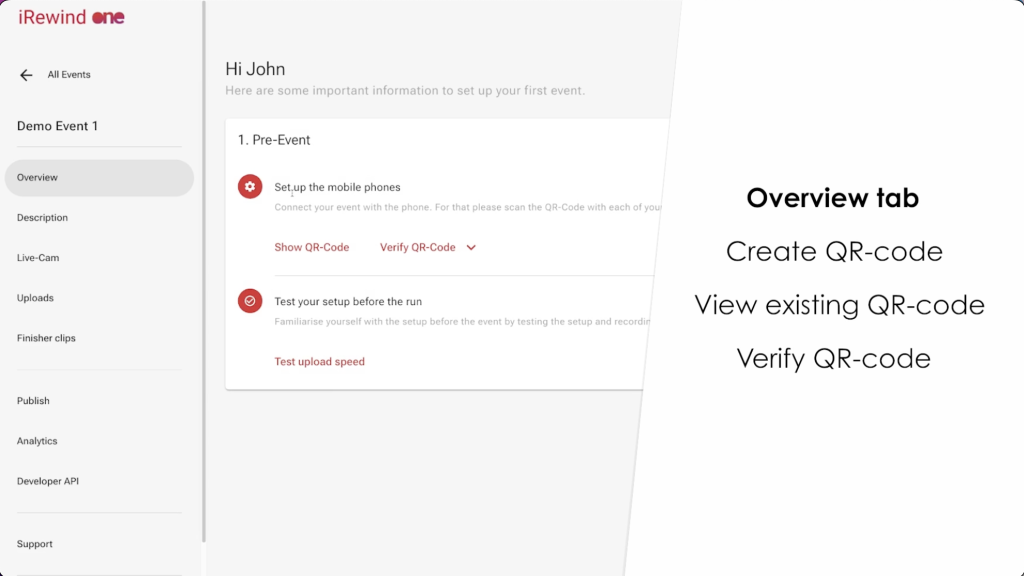
Please check our next Tutorial where we’ll explain how to create and use the QR codes to connect your devices to the events.